Using a visual element like an image, a photo, or an illustration is a great way to spruce up your post or page content. This post shows how to upload WordPress images to your posts or pages.
Gutenberg Block Editor
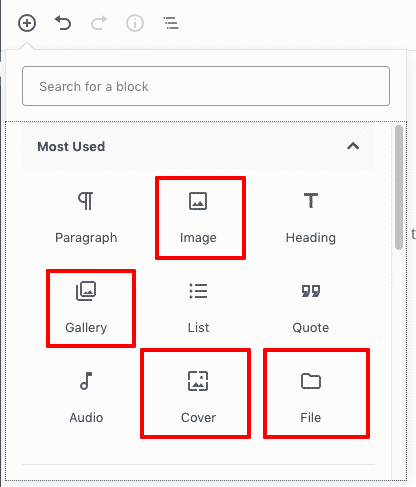
Since WordPress new editor experience (Gutenberg Block Editor) you need to click in the ‘+’ button and sear for the ‘image’ block, as the screesnhot bellow shows. After this, click on upload’ or on media library’ to select or add a new image on your site.

There are at the least 5 exclusive methods you could upload photographs on your content material with the default Gutenberg blocks. There are 4 photograph blocks, known as Image, Gallery, Cover and File. There`s additionally a mixed block known as Media & Text.

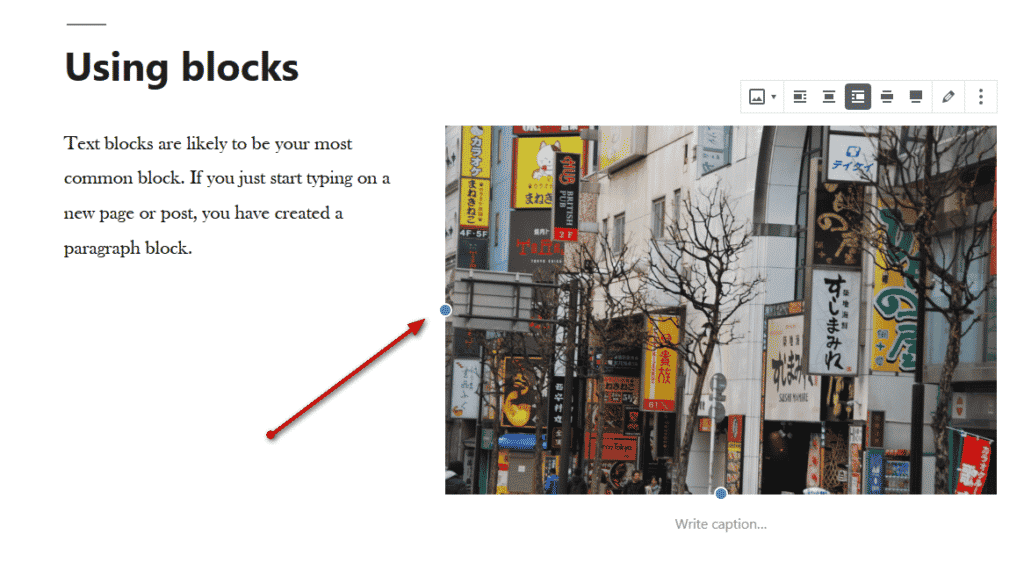
If you selected now no longer to indent the photograph, you could determine how extensive the photograph ought to be: “Wide” or “Full Width”. Wide will make it a bit wider than your textual content blocks, whilst complete width will set it to increase throughout your screen. These settings can be stimulated with the aid of using your theme.
An greater available characteristic helps you to without difficulty upload an photograph without delay out of your laptop with out choosing a block. Simply area your mouse cursor wherein you need the photograph to head and open a folder together along with your photographs, then drag the photograph you’ve got got selected onto the web page or post.
The photograph settings at the proper will let you regulate the photograph length to a particular pixel width or top or percentage. Here you could additionally write a ALT textual content, create a link, or upload your personal CSS class.
Adding WordPress Images (Classic Editor)
1. Firstly, determine where you’d like to insert your image in your post. Click on this area to select it.
2. Secondly, above the Post editor toolbar, you’ll see an Add Media button. Click the Add Media button and see the Insert Media box.
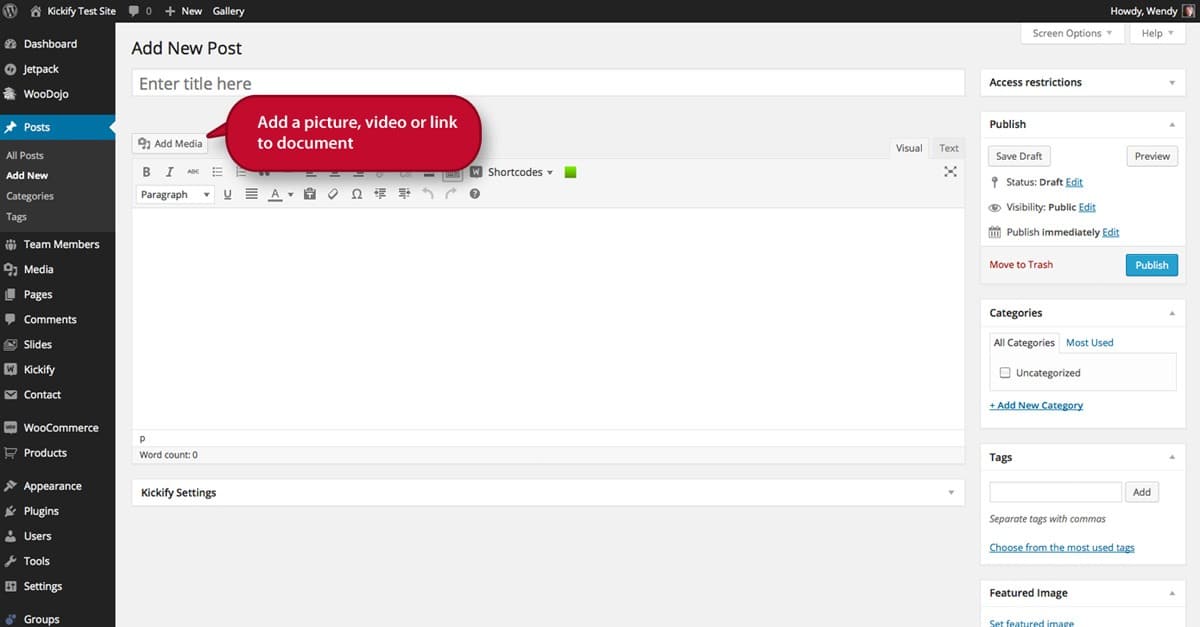
3. Your WordPress site uses a media library to store all your media, like images and videos. From this box, you can choose to either upload a new file or use an existing file from the media library. To upload an image, click the Select files button. Find the picture you’d like to use and click open.

4. Now that your image has been uploaded, you’ll see it has been added to the media library. On the right side of this box, you’ll see the attachment details for this page. You can change the Title, Caption, Alt text, and Description here. You can also choose the image’s alignment (such as center, left, or right), where the inserted image should link to, the actual URL, and the image’s size.

More Steps Adding WordPress Images To Posts Or Pages
5. Make sure the image has a checkbox and click the Insert into post button. So, now you’ll see your image has been added to your post.
6. If you click on this image, you should see two boxes appear in the upper lefthand corner of the image. The first is the image icon. If you click that icon, you’ll now see another box open for editing the details of the image. Here you can change the image size based on percentages (which can be a handy tool for resizing) or update the title, alternative text, caption, and link URL. You can also select this image to link nowhere or to link to the actual image file.
7. If you click the advanced settings tab, you’ll see the URL of where the image file is hosted on your site, the actual width and height of the image in pixels. Moreover, the CSS Class, styles, and image properties that add padding around the image.
8. In addition, return to the image in your post. The next icon in the upper left corner will delete the image from the post.
9. If you click the Add Media button again, you’ll see the same insert media box. As a result, you’ll see options to create a gallery and set the featured image on the left side of this box. Once you have more images in our media library, you’ll be able to add an entire gallery of images to the post.
Your WordPress theme sometimes uses the featured image of the post. Choose this image as our featured image and return it to the post editor. So, you can preview the post and see that our image has been added.