Infobox Element In WordPress
Guide & tutorial to learn how to use the infobox design element, widget, and block in your website page layout using WordPress with your…

Guide & tutorial to learn how to use the infobox design element, widget, and block in your website page layout using WordPress with your favorite page builder: WPBakery, Elementor, or Block editor.
How To Add and Use InfoBox Design Element in Your WordPress Website?
Boost the visual appeal and user engagement of your WordPress website with InfoBox design elements. Learn how to effortlessly add and effectively utilize InfoBoxes to showcase key information. Dive into our step-by-step guide for expert tips, best practices, and practical examples.
How to use Infobox Element In WordPress with Borderless (Visual Elements) Addon to WPBakery Page builder
This tutorial on Visualmodo knowledge base will show how to create and use an Infobox Element In WordPress with our Borderless Plugin. Guide & tutorial to learn how to use the infobox design element, widget, and block in your website page layout using WordPress with your favorite page builder: WPBakery, Elementor, or Block editor.
Before all, make sure you have the Borderless plugin activated on your site. As soon as you activate the Visualmodo theme, you receive a message at the top of your dashboard asking to install the plugin, and this plugin will add more elements to your page builder.
Today we will talk about the INFOBOX. Please look at an example of the page with an infobox element in this demonstrative page.
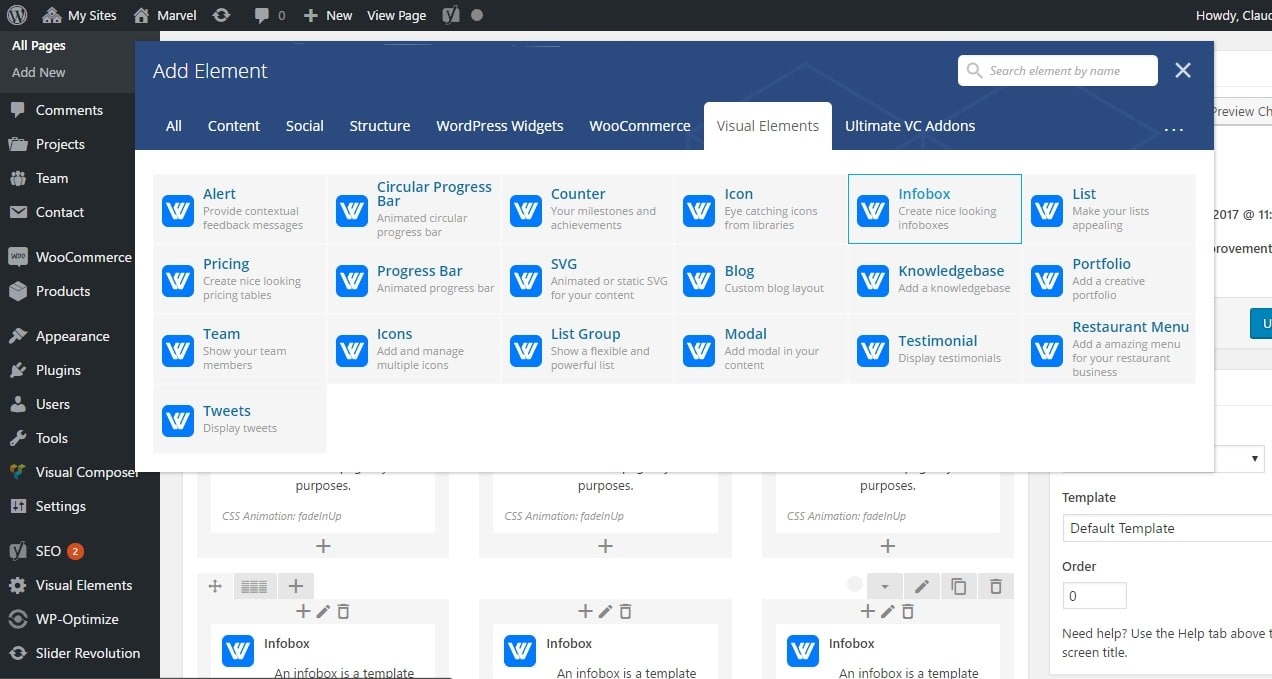
Firstly, to start using the infobox element in WordPress you need to go on any page or post. Open the page builder elements, back-end, or front-end editor. > Add element (+) icon. > Select the’ Borderless’ tab and Click on the ‘InfoBox’ element.
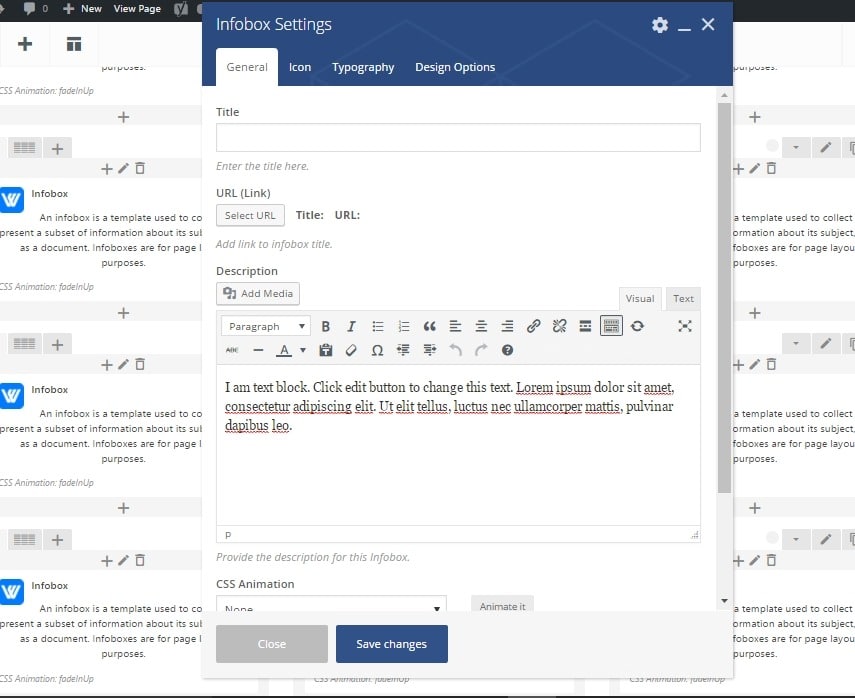
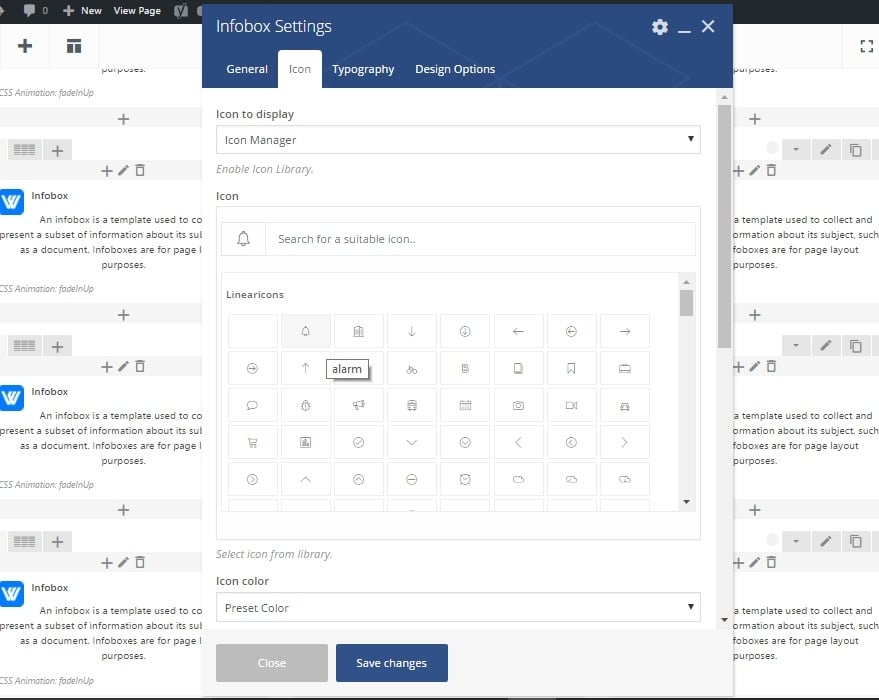
As a result, a window will open so you can fully edit this section. Adding the title and content, selecting the icons.
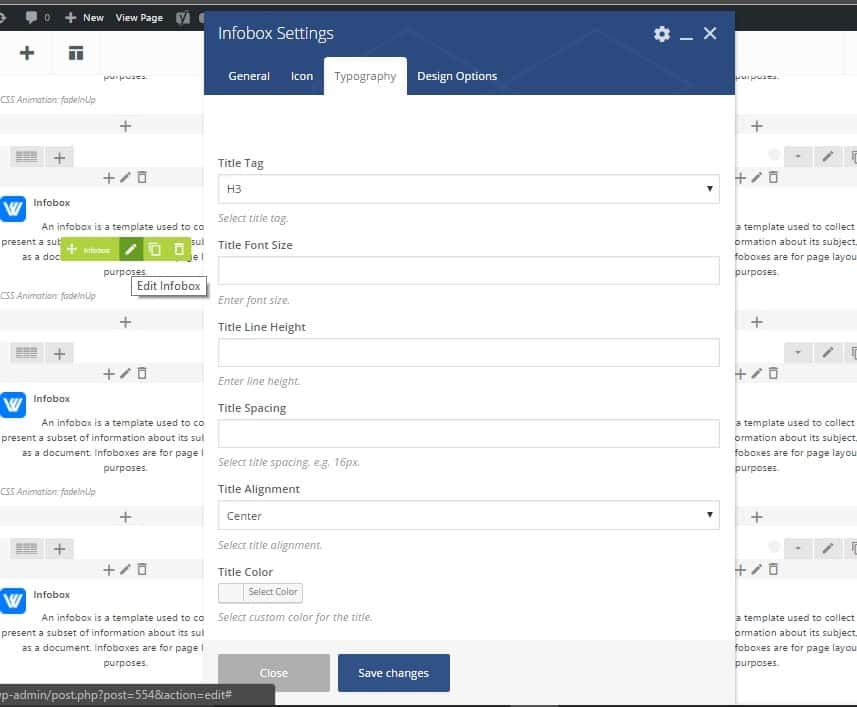
Moreover, choose the typography and style that you want. In each tab of the icon box editor, you will apply your technique. You can add this element in a row section visual composer (WPBakery) element. In addition, use it in column layouts as an example of the image below.

Note: in case you want more icons to select, you can upload your icons pack in the .zip format. To build it please go to the icon builder library and develop your icons pack.
Afterward, go to your WordPress Dashboard > Borderless > Icons Manager > Add icons <. (some hosts do not allow .zip uploads; in this case, you will see an error message. You can fix it quickly by contacting your host support and requesting an enable to .zip upload in WordPress installation.
How to use the Infobox Element In WordPress- By Visualmodo
Video Tutorial
How To Use Infobox Widget in Elementor Page Builder WordPress Plugin (free)
- Install and activate the Elementor Page Builder plugin on your WordPress website if you haven’t already done so.
- Create a new page or edit an existing one where you want to add the Infobox widget.
- Open the page in Elementor by clicking the “Edit with Elementor” button.
- Once in the Elementor editor, search for the “Infobox” widget in the widget panel on the left-hand side. You can either scroll down or use the search bar to find it quickly.
- Drag and drop the Infobox widget onto the desired section of your page.
- Customize the content of the Infobox widget by filling in the various fields available. These fields may include a title, description, image, icon, and button.
- Use the Style tab in the left panel to modify the appearance of the Infobox widget. You can adjust the typography, colors, spacing, and other visual aspects to match your website’s design.
- Configure any additional settings or features for the Infobox widget according to your needs. These may include animation effects, responsiveness options, and advanced settings.
- Preview and test your page to ensure the Infobox widget looks and functions as expected.
- Once satisfied with the changes, click the “Update” or “Publish” button to save your modifications and make them live on your website.
By following these steps, you can effectively use the Infobox widget in the Elementor Page Builder WordPress plugin to create visually appealing and informative content boxes on your website.
Keep reading this guide & tutorial to learn how to use the infobox design element, widget, and block in your website page layout using WordPress with your favorite page builder: WPBakery, Elementor, or Block editor.
How To Highlight Any Content With Attractive Infoboxes? Essential Blocks Plugin?
To highlight content with attractive infoboxes using the Essential Blocks plugin in the WordPress Block Editor, you can follow these steps:
- Install and activate the Essential Blocks plugin on your WordPress website if you haven’t already done so.
- Open the page or post where you want to highlight content with info boxes in the WordPress Block Editor.
- Click the “Add Block” button or the plus (+) icon to insert a new block.
- Search for “Infobox” in the block inserter or browse the available blocks provided by the Essential Blocks plugin. Click on the “Infobox” block to insert it into your content.
- Once the Infobox block is added, you can customize its content and appearance.
- Fill in the title, description, and other relevant fields with the desired content for your info box.
- Use the block settings and style options in the block toolbar on the right-hand side to modify the appearance of the infobox. To make it attractive, you can adjust the colors, typography, spacing, border, background, and other visual aspects.
- Add an icon or an image to the infobox to enhance its visual appeal. The Essential Blocks plugin may provide options to choose icons from popular icon libraries or upload custom images.
- Preview the page or post to see how the infobox looks in the context of your content. Make any necessary adjustments to ensure it stands out and complements your overall design.
- Repeat the process to add more infoboxes, placing them strategically throughout your content to highlight important information.
- Once satisfied with the changes, click the “Update” or “Publish” button to save your modifications and make them live on your website.
By following these steps, you can effectively use the Infobox block provided by the Essential Blocks plugin to highlight content with attractive infoboxes in the WordPress Block Editor.