
Make money with your WordPress blog by adding Google AdSense to WordPress easily.
With WordPress, you can easily add your AdSense code to your blog. To do this, the first login to the administrative end of your website. Then, go to the Appearance -> Widgets menu.
Google AdSense is one of the most popular ways to monetize your website. Did you know that you can easily add Google AdSense to your WordPress site and start making money? In this article, we will show you how to add Google AdSense in WordPress and share some best practices and tips to increase your earnings.
First Steps with Google AdSense
Firstly, you need to do is sign up for a Google AdSense account. If you have a Gmail account, then you can use an existing account.
Once you’ve submitted your application, you will receive an email within 6 – 8 hours telling you whether you have passed the first step of the review process. If you passed the first check, you can log in to your AdSense account and get your ad code.

On this page, drag and drop a Text widget onto your Blog Sidebar. So, you add Google AdSense to WordPress.
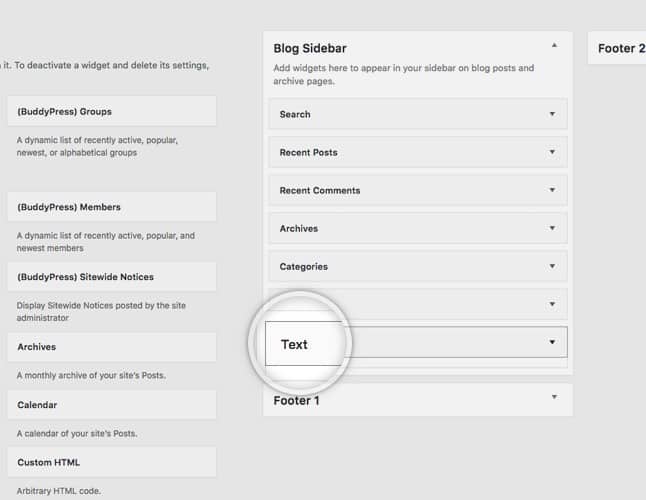
Then you should add a title (in our case – Advertisement), and under it, click the Text tab and then paste the actual code you obtained from Google. Finally, click on the Save button.

The ad will automatically be saved and appear in your WordPress Sidebar.
You need to determine where to show the ad on your website. Most commonly, ads are displayed in the sidebar. Finally, you have Google AdSense present on your WordPress. You can add the Ads to your sidebar by using WordPress widgets. Although ad placement is key, we’ve found that the best sizes are 336×280 and 300×260. In conclusion, these ads tend to fit most screen sizes and have the best pay rate.