Want to know how people are finding your site, which blog posts are most popular, or how many of your visitors are using mobile devices? All of that and more can be easily up using Google Analytics WordPress and MonsterInsights. In this article, we’ll show you how to set up your Google Analytics account and install it on your WordPress site using MonsterInsights.
Google Analytics in WordPress Step 1: Sign In to Google
The first thing you’ll need to do is log in or sign up for a Google account.
To get started, you’ll need to open the Google Analytics website and click the Sign In link in the top right corner of the page.

Then click Analytics at the top of the dropdown menu that appears.

On the next page, you can log in to your existing Google account if you have one, or click the Create account link to create a new Google account.

Step 2: Sign Up For Google Analytics
After you’ve signed in to your Google account, you’ll need to sign up for Google Analytics. Click the Sign Up button on the right side of the page to get started.

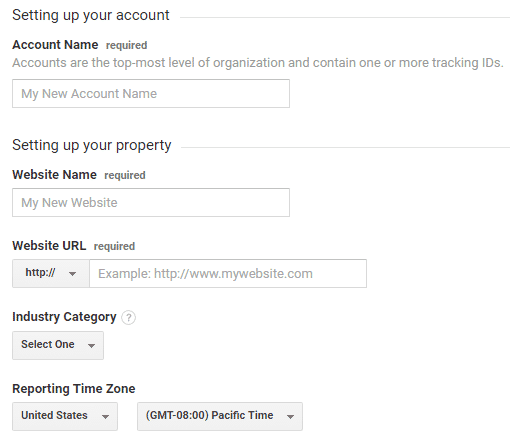
Next you’ll need to enter the settings for the site you want to start tracking.
Make sure the Website option is selected at the top.

Then you can scroll down to enter your website information. You’ll need to name your Google Analytics account, and enter your website name, URL, and industry, as well as your time zone.
After filling in your website details, you can scroll down a bit to customize your data sharing settings. When you’re finished selecting your options, you can click the Get Tracking ID button at the bottom of the page.

In the popup window that appears, you can review and accept the terms of service.

That’s it! You’re now signup for Google Analytics.
Step 3: Set Up MonsterInsights
Normally, you’d have to insert your Google Analytics tracking code into your WordPress website’s code.
But with MonsterInsights, you don’t need to worry about using any code.
Alternatively, you can get all up by downloading the MonsterInsights plugin. To do that, you’ll need to log in to your MonsterInsights account and download the plugin zip file.
Once you have the zip file, navigate to the site where you want to install MonsterInsights and go to the WordPress admin dashboard.
Then navigate to Plugins » Add New and click the Upload Plugin button at the top.

On the next screen, you can click the Choose File button to select the zip file you just downloaded. Then click the Install Now button to upload the file and install the plugin on your site.

Once the plugin has been uploaded and installed, you can click the Activate Plugin button to activate it on your site.

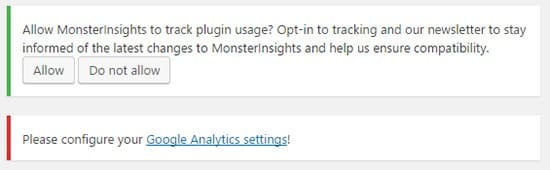
After the plugin is in action, you’ll see a few messages at the top of your dashboard. To set up your Google Analytics account with MonsterInsights, click the Google Analytics settings link.
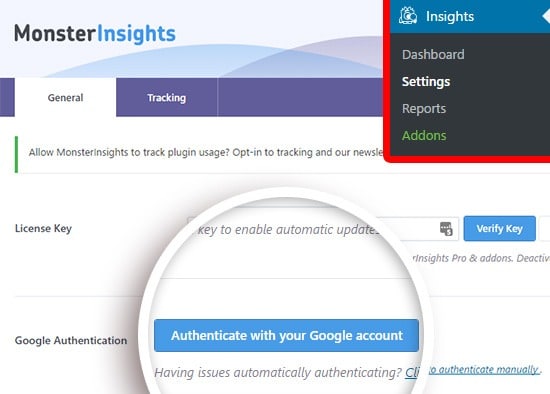
This will bring you to the Insights » Settings menu. Now you can click the Authenticate with your Google account button to start the process.
In the popup that appears, click the Next button.

Then click the Click To Get Google Code button.

Next, you can click the Allow button to give MonsterInsights access to your Google Analytics data.

A long string of letters and numbers will be appearing. Copy the code, then paste it into the field and click the Next button.

Finally, you can click the Select a profile dropdown to select the website you set up in Google Analytics, and click the Next button.

That’s it! You’re all set.
It can take a few hours for Google Analytics to start collecting data.
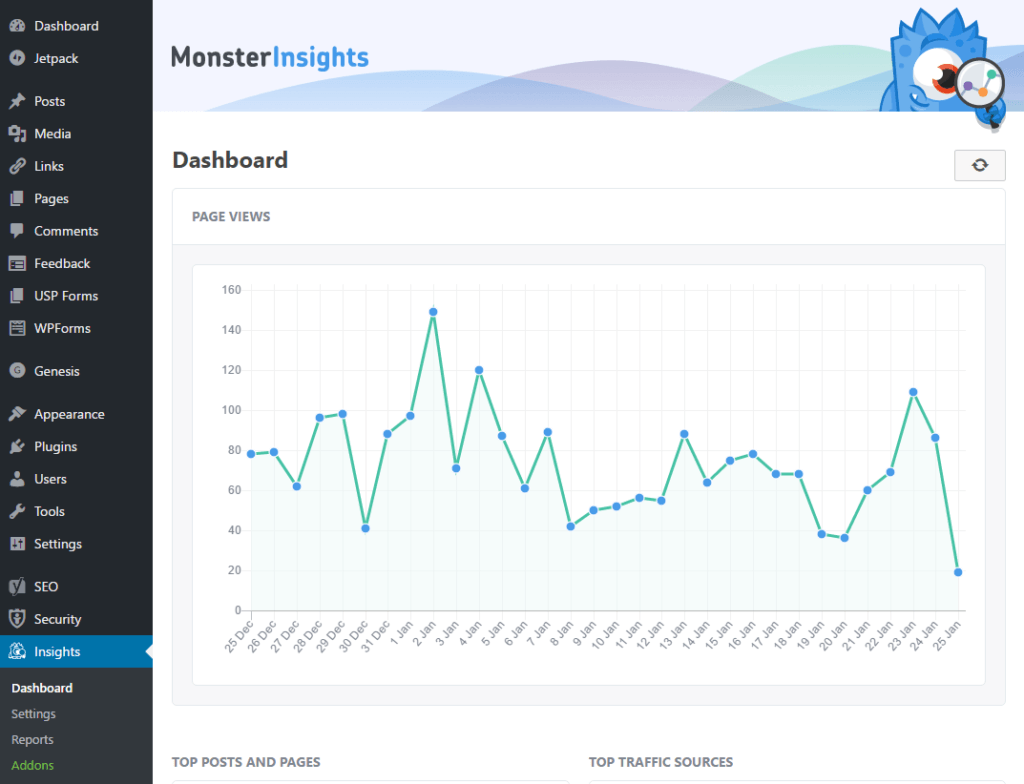
Once it does, you can go to Insights » Dashboard to see how your site is doing.
Finally, We hope this tutorial will help you to set up Google Analytics with Visualmodo