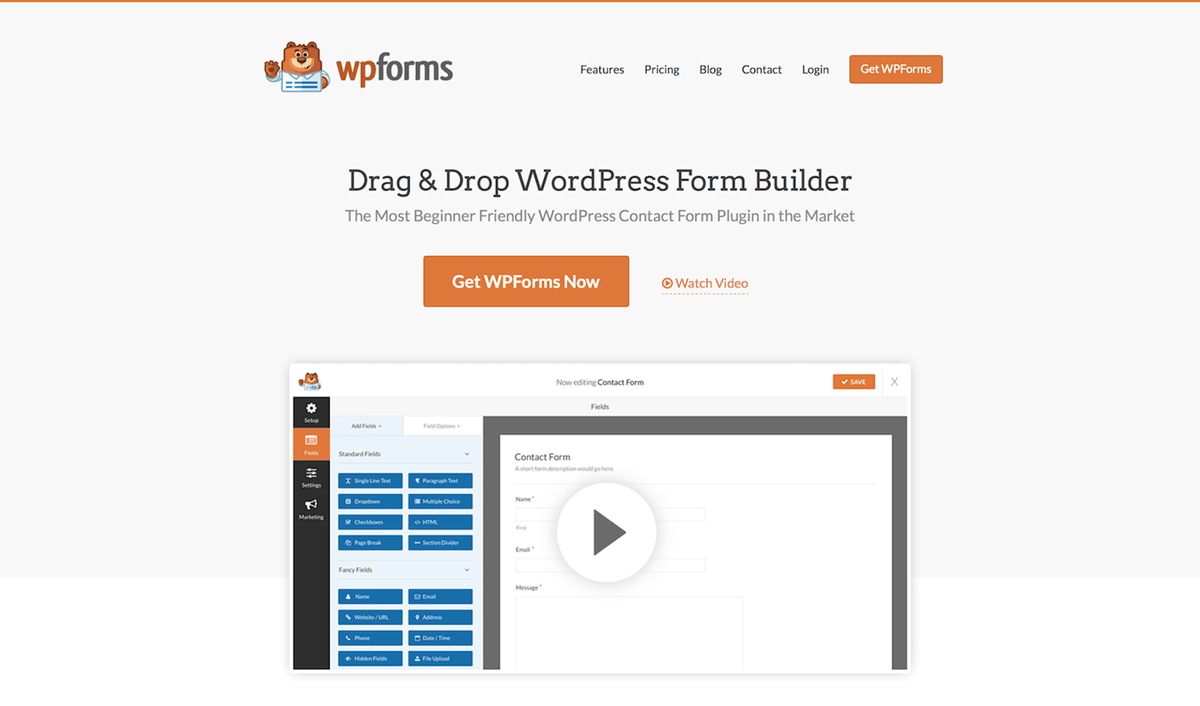
The easiest way to add a contact form to your WordPress website is to use a purpose-built plugin. One is the modern and very powerful WPForms, From the team behind OptinMonster and Soliloquy. In today’s article, we’ll share a complete tutorial on how to use the WPForms WordPress plugin.
Below, we’ll show you how to quickly and easily create a basic contact form for your WordPress-powered website. Moreover, we can use the free version of WPForms Lite.
Why Use WPForms WordPress Plugin?
When it comes to WordPress contact form plugins, there are lots to choose from. However, WP-Forms provides one of the quickest and easiest ways to add a contact form to your website. While still allowing you to upgrade your forms should you have more advanced needs further down the line.

Because of the WPForms templates, you can add a contact form to your WordPress website in no time. So, if you need it, the intuitive drag-and-drop form builder tool is on hand. In addition, it will help you create custom forms for almost any purpose.
So, now that you know why the plugin is a good choice. We’ll show you how to use this free plugin to create a basic contact form for WordPress.
How to Add the WPForms Lite Plugin to Your WordPress Website
The first step in creating a basic contact form with WP-Forms is to add the plugin to your website. The plugin comes in two main versions: A free one and a more-advanced commercial option. However, if all you’re after is a basic contact form, the free version is more than a good option.
The quickest way to add the plugin to your website is to log into your WordPress admin area. Navigate to the plugins section of the dashboard.
From the Add Plugins page, enter ‘WPForms Lite’ into the search box. Install the first plugin returned in the results.

On the next screen, click on the Activate Plugin link. The contact form builder will be ready to use on your WordPress website.
How to Create a Basic WordPress Contact Form with WPForms
As part of its attempt to be the most us
er-friendly WordPress forms plugin available. The plugin will display a helpful welcome message after activating it.
From the welcome screen, you can watch a video walkthrough guide on creating your first contact form with WPForms WordPress plugin to use and follow our tutorial. Or simply click on the plugin. Add a New link to start it up. If, for whatever reason, the welcome screen isn’t appearing, you can create a new contact form. By clicking on the plugin sidebar menu and then selecting the Add New item.
After you click on the Add New form link, the Plugin user interface will appear. You can give your form a name, such as a contact form, and then choose a template from the available options.
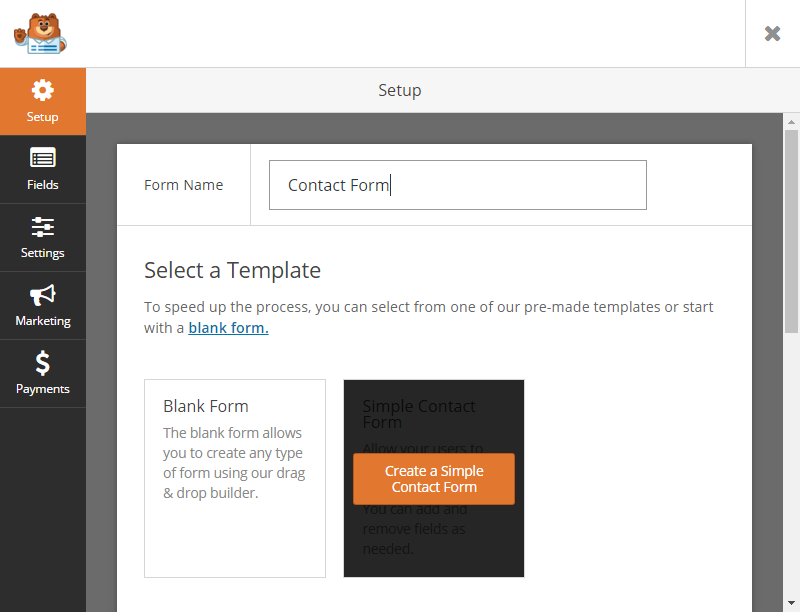
While you’re free to start with a blank form, choosing the simple contact form template is what we do recommend.

For most purposes, the simple contact form template should suffice. However, to modify the basic contact form, you can click on any of the standard fields from the left-hand panel to add them to your form. If you want to use any of the fancy fields or payment fields, you’ll need to upgrade to the pro version of the WPForms and use a pro contact form WordPress plugin, and this tutorial will help also.
If you click on a form field on the left-hand panel, it’ll instantly be up to your form. You can drag and drop it into a new position or click on the field to edit it.
Editing of the form fields takes place in the left-hand panel, allowing you to modify the field label and description, set the field size, and enter any placeholder text. Once you’re happy with the form, click on the save button to make it available for use.
Configuring Your Contact Form
Each form you create with Plugin can be up to meet your needs better. Clicking on the settings tab on the form builder screen opens up the configuration options for the form you’re working on.
Settings are grouped into three sections, covering the form’s general, notification, and confirmation options on this part of the WPforms WordPress plugin tutorial.
You can edit the form title and description through the general settings, change the submit button text and enable the anti-spam honeypot features. It recommends making use of this last option, as it’ll help to reduce the number of spam submissions you receive without affecting the user experience of your forms.
You can choose which email addresses will be sent a form submission alert through the notification settings. Moreover, you can use the confirmation settings to customize the message that’s displayed after a visitor’s used the form. Alternatively, you can choose a page or enter a custom URL displayed after form submission.
Again, once you’re happy with your form confirmation, click the save button to commit to your changes.
Publishing the Contact Form on Your Website
After you’ve saved your form, you can add it to your WordPress website to make it available to visitors. Clicking the embed button on the form builder screen will display a shortcode, which you’ll need to add to a WordPress post or page to publish the form.
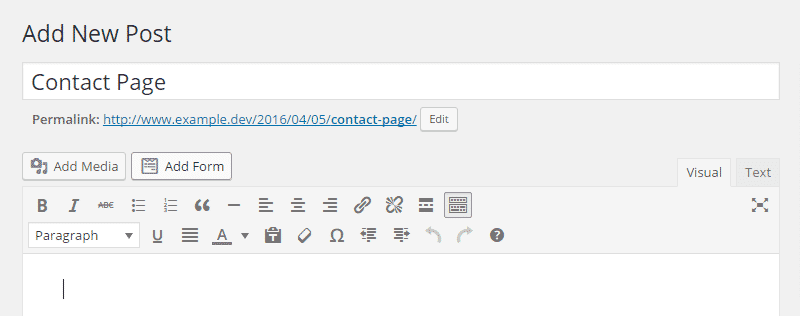
Another way to add one of your forms to your website is to open a WordPress post or page for editing and then click the Add Forms button.
You can select which form to insert from the popup window and choose whether to display your form title or description.
After you’ve inserted the form, a shortcode will be added to your post or page. Then, the shortcode will be replaced with the corresponding form upon publication.
Now, if your visitors want to send you a message, they must complete the form and press ‘send’ on the WPForms WordPress plugin.
Managing Your WordPress Contact Forms
If you need to make any changes to your contact forms, you can access them from the All Forms item on the plugin menu.
From this section of your WordPress dashboard, you can delete or edit any existing forms, and if you upgrade to the Pro version. In addition, you can view the form entries submitted by your site’s visitors.
Any changes you make will be instantly reflected in your published forms, thanks to the power of WordPress shortcodes (find out more in our previous article, WordPress Shortcodes Explained).
Email Settings
The Email tab allows you to configure form email options. You can select the radio button for email in HTML or plain text. Additionally, in this menu, you can upload a header image and change the background color, as well as enable the ability to cc:email addresses. These settings help you customize users’ email, such as B. An email confirming a contact form.
Verification Code Settings
On the reCAPTCHA tab, you can select the type of reCAPTCHA to implement by selecting the radio button for v2 reCAPTCHA or Invisible reCAPTCHA. You will enter your website on this tab and key in the appropriate fields. For more information on adding reCAPTCHA, see the WPForms documentation included in this settings section.
Final Thoughts
As you can see, the free WPForms Lite provides a straightforward way to add contact forms to a WordPress website.
Using the standard contact form template, you can add this form to your website in just a few clicks. So, thanks to the drag-and-drop editor, if you do need to make changes to the template (such as adding form fields or modifying the default text) the whole process is very straightforward.
Note: To learn more about the advanced features and functionality of WPForms, be sure to check out our in-depth WPForms Pro Review.
Using WPForms yet? Thoughts?