In today’s article, we’ll learn a simple, fast, and effective way to install a great slider builder free WordPress plugin into your website. See here a guide on how to install the Smart Slider 3 WordPress plugin for free on your site.
What is Smart Slider 3?
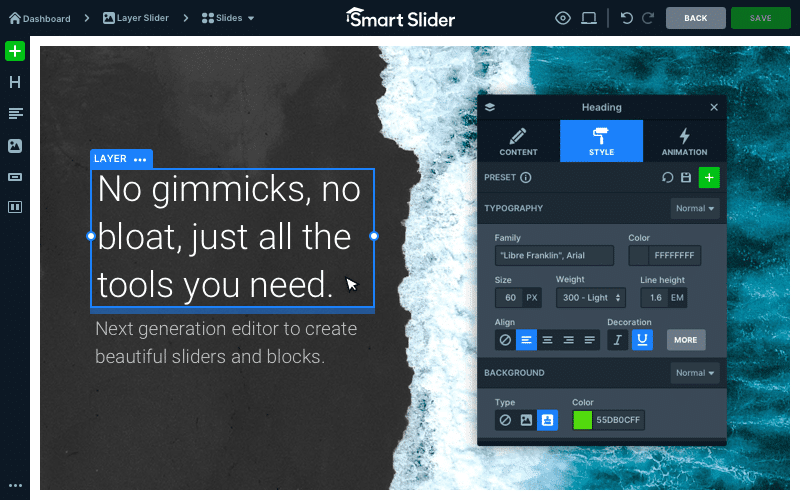
Smart Slider 3 is a powerful WordPress plugin that allows you to create stunning, responsive sliders without coding knowledge. Smart Slider 3 guide is the go-to choice for many website owners looking to add dynamic content to their sites with its intuitive drag-and-drop interface, pre-designed templates, and many customization options.
Why Use Smart Slider WordPress Plugin?
Before we dive into the installation process, let’s explore some of the key benefits of using Smart Slider 3:
- User-Friendly Interface: The drag-and-drop builder makes it easy to create sliders even if you’re not tech-savvy.
- Responsive Design: Sliders created with Smart Slider 3 look great on all devices, ensuring a seamless user experience.
- Pre-designed Templates: Choose from various templates to start quickly, saving you time and effort.
- Customization Options: Tailor your sliders to match your site’s aesthetics with a wide range of customization options.
- SEO-Friendly: The plugin is optimized for search engines, helping improve your site’s visibility.
Install Smart Slider WordPress Plugin From WordPress Directory
Note: This method can only install the accessible version of Smart Slider 3 uploaded to the WordPress Plugin Directory. If you have the pro version, use one of the methods above.
Firstly, go to your backend Plugins. Secondly, Add New, and search for Smart Slider 3.
Please find it in the list and click on the Install Now button. Now, you will see Smart Slider 3 appear in your plugins list, which you should activate. The Smart Slider menu point will appear in your left WordPress menu. So, upload max filesize. Error: There was an error loading this file to the server. The uploaded file exceeds the upload_max_filesize directive in php.ini.
If you can see an error message like this when you are trying to install Smart Slider, that means that your server has a limitation that files that are larger than the value defined in the php.ini (or .htaccess file) are smaller than the Smart Slider’s installation package.
The limitation, in most cases, is below 2Mb. If you would have access to your php.ini file, you could modify this value by searching for the upload_max_filesize or post_max_size words. In conclusion, if you can’t access that file, you can still install the slider using the FTP installation method.
Download the Smart Slider 3 Pro zip installer from our website. (Or the free version for WordPress from here.) Go to your Plugins → Add new. Upload Plugin and browse the zip file. Moreover: If your zip file contains UNZIP_FIRST in its name, then unzip the file first and use the zip file inside it!
Now, Install Now, and if the installation was successful, click on Activate Plugin.
Possible Error Fix
Note: If you are getting a “The uploaded file exceeds the upload_max_filesize directive in php.ini.” message, follow the FTP installation method instead!
Now, the Smart Slider 3 plugin will appear in your plugins list. After activating it, the Smart Slider menu point will appear in your left WordPress menu. If the installation wasn’t successful, try uploading through the FTP method instead.
Upload Smart Slider WordPress Plugin Through FTP
Download the Smart Slider 3 zip from our the devs site or WordPress org. (Or the free version for WordPress from here.) Unzip it into your computer.
Go to your FTP, and upload the extend-smart-slider3-pro folder to your website’s wp-content\plugins\ folder. (If you are not sure, what the FTP of your website is, read this.) Go to your admin area. So, in the Plugins, and you will see the Smart Slider 3 Pro plugin in your list. Activate it, and the Smart Slider menu point will appear in your left WordPress menu.
Where is the FTP of my website?
When you purchased your website from the hosting company, you have received an email with the FTP account to access its folders and files. That is the account you need, and for example, with Filezilla, you can access your FTP. In addition, If you are unsure what your FTP account is, contact your server host and ask them for it!